Colorado Inspired

Colorado Inspired
Colorado Inspired

Winter Wonderland Wood Sign

Winter Wonderland Wood Sign
Winter Wonderland

Valentine's Designs

Valentine's Designs
Valentine's Designs

Finishing up the Fall

Happy Holidays!  We've decorated for Christmas, and we are in the spirit, but I did have a few final fall items to finish up.  We got those 30+ pumpkins this year, and still needed to put them to good use.

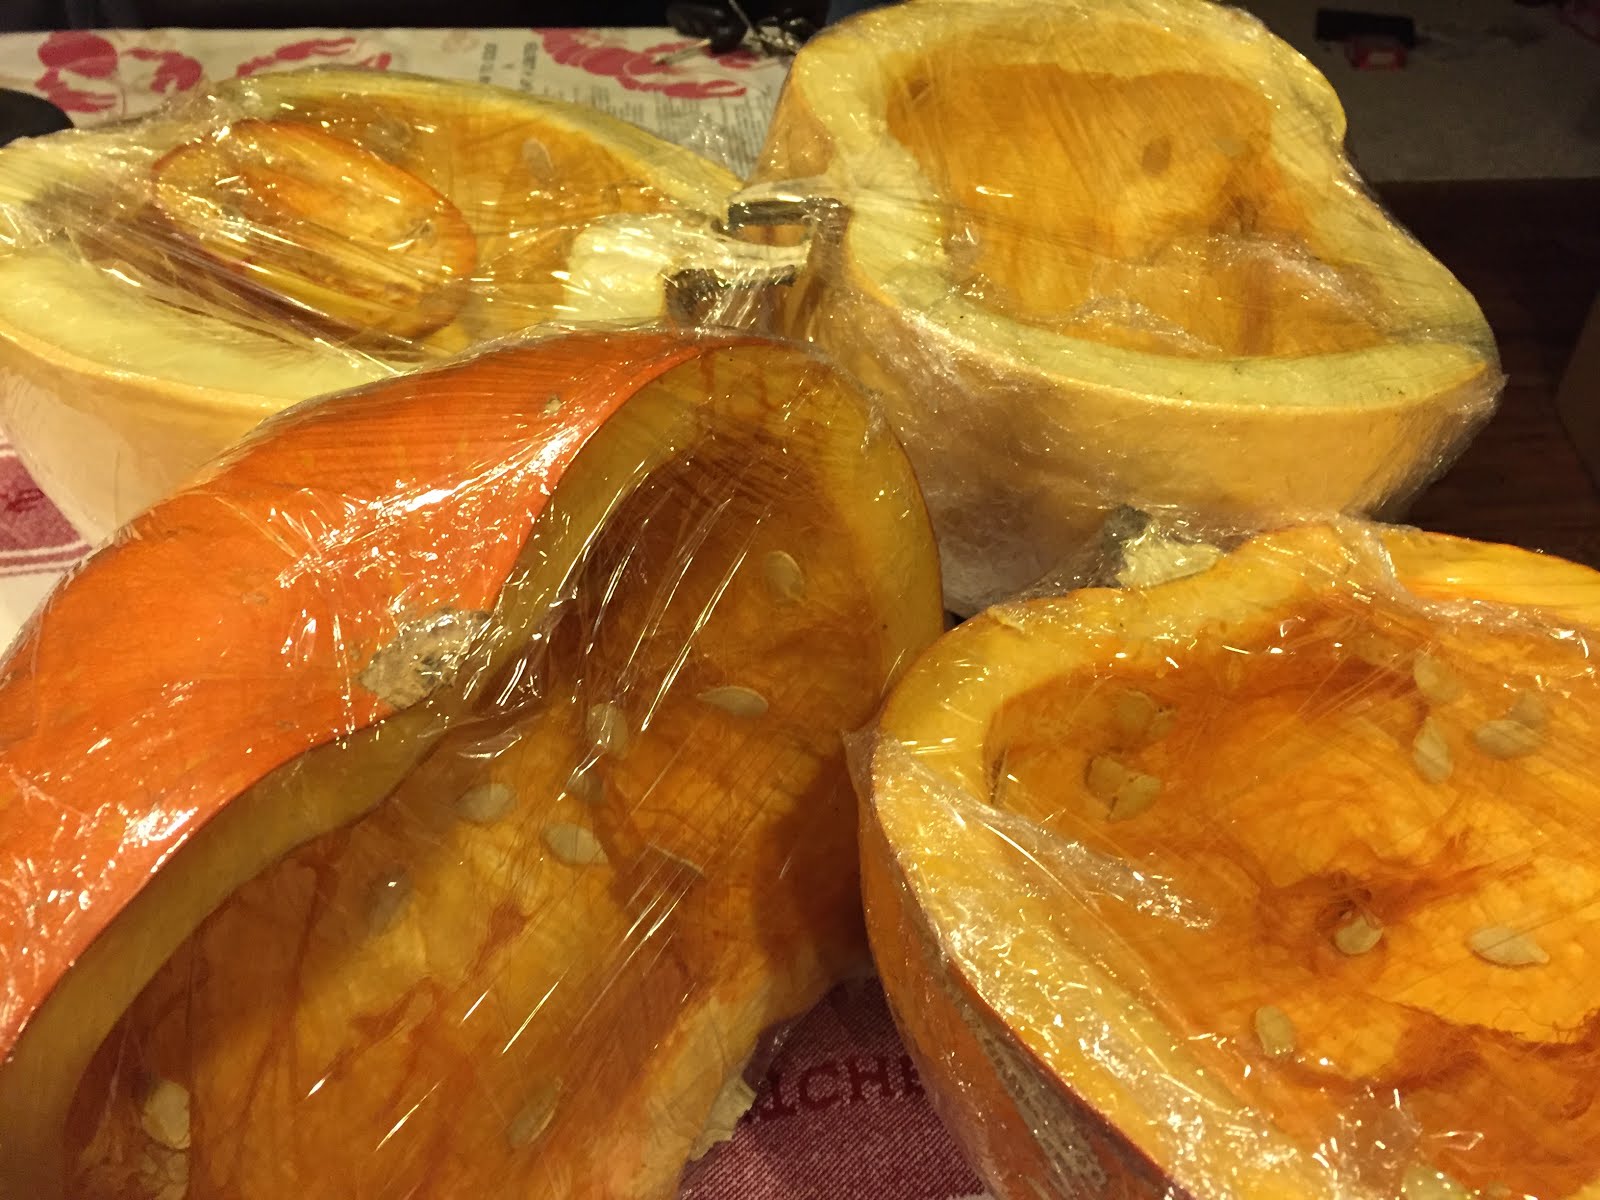
It's time to save the seeds for next year's pumpkin crop.  I wanted to save seeds from each of my different types of pumpkins, so I laid out a sheet of paper towel in front of each different type, and started cutting into them.  I washed the seeds to remove all the pumpkin innards, and laid them out to dry on the paper towel.   Once they dry you can store them in any container.


I use old baby food jars, and use a sharpie to label each container.  Nice thing about using the sharpie right on the glass is that if I have to remove the writing for any reason, you can use a little goof off, and use it to store a different seed variety.  
                                      
In years past, we have thrown our pumpkins out for the deer to eat.  They got their fill this year as well, however new this year is our flock of chickens, and I thought we'd freeze and save some pumpkin halves for future eating in the winter. 

                                
They really seem to like them, picking them all the way down to the skin.  Say hi Bertha!

                              
Next it's time to take all the extra seeds your not saving and roast them!!  Yum!  Here's how I do it.

1-2 cups of pumpkins seeds
1-2 tsp of melted butter
Salt to taste
I lay out my seeds on a sheet pan to dry after I washed all the pumpkin innards off, and leave them out to dry for a day or two.
Preheat your oven to 300 degrees.
Once the seeds are dry, melt the butter, and pour it over the seeds, and mix it all up with your hands to get a good even coating.  Then add salt, and pop these guys in the oven.  Total roasting time is 45 minutes.  I put my timer on for 15 minutes, and stir the seeds around, and set the timer again for another 15 minutes till 45 minutes is up.
Take them out of the oven, and let cool.  Store them in a sealed container, and enjoy for a snack or in a salad to add some crunch.

Well it's time to say goodbye to fall, and all of it's bounty.  Bring on Christmas! 🎄


0

Cleaning for Winter and Celebrating!

We've been lucky this fall, it's been unseasonably warm which is nice for the fall garden, but you know the cold and snow are coming.  Well next week seems to be the week for at least cooler temperatures, so I took the last of the warm days to get my outside spaces buttoned up for winter.


The deck cushions are up away in the barn except for one so I can make new covers over winter, and the deck got a good scrub.

The front flower beds got cleaned up and weeded as well.


The terra cotta got stored in the garage along with my St. Francis statue (patron saint of plants and animals).

17 bulbs of garlic got planted.  A little late, but hopefully a good snowy winter in the ground, and we'll see them in spring.
Last but certainly not least the patio below the deck saw all cushions put away, table and chairs pushed up near the house for a little extra protection and ease of shoveling!

Got the two favorite men in my life off on Konnor's first hunting excursion and...

Celebrating my third favorite man's 70th birthday!  Happy birthday dad. Looking forward to the celebration!  And of coarse he still looks this young!


0

#Epic39

Well it's official, now you all know how old I am!  As the last year in my thirties, I wanted to make it an epic year.  But starting off about 8 weeks ago (birthday date), I didn't know what that would look like.  You can come up with all the usual things like exotic travel, skydiving, and learning to fly a plane which I want to do, but it's starting to become more than that.  I'm starting to recognize just the small little things that are making my life epic. We launched the Discovery Homes website, plus our Etsy store is up and running, so that's where I've been for a month.
The one thing that has been epic at the house is the garden!  You all know what a tough start we had with the weather and warmth, but it has really turned around.  We've got some new comers to our garden scene as well as some old favorites, but let me show you how they are all doing.


The very first garlic crop ever.  Totally can't complain.  I put in 17 cloves, and got between 13-15 garlic bulbs.
First season of the artichoke as well.  I didn't get too many from my 12 plants, however pretty impressed for season one.
The cantaloupe was sweeter and more juicy than anything in the store.
Another new crop to our garden this year was cauliflower.  Planted 5 plants, already roasted and ate 2 heads.  Yum!
The cucumber crop has been incredible.  This is pickle batch number 3, and still have more on the vines.
It's definitely cool season crop time, and the broccoli is growing like crazy.  Pick it, roast it, and eat it for the perfect addition to dinner.
These ladies are the center of our garden this year, and are making a plethora of eggs.  We are getting an average of 6-8 eggs per day.  Perfect addition to our little homestead.
A bumper crop of pumpkins have been harvested this year.  We planted them in the front flower bed due to lack of room, and they thrived here.  We have at least 30 pumpkins of varying varieties.
Using them for little fall decoration outside..
and inside.
Usually when fall is over we throw these guys out for the deer, however this year I will cut up and save many of them for the chickens to eat during the winter.


Looking forward to sharing with you all the things I find to make my 39th year epic.  No matter what your epic looks like, make your life the best it can be.
0

Homemade Life is on the Move, But First...

It's official, Kelli's Homemade Life is on the move.  We are doing a split with the the launch of the
Discovery Homes Colorado blog.  Discovery Homes is a real estate and inspiration blog for all things home and gift.  We will be giving tips and tricks for buyers and sellers, but also some home inspiration ideas as well.  With that said, I still want to keep you update on all things garden, chicken, and kitchen.  This post fits both homemade gift and the Discovery Homes Colorado theme, so it's the perfect transition.  Discovery Homes recently had a wave of real estate closing which means it's time for making gifts, and what's better than a glass of your favorite spirit with a custom made etched set of glasses for the occasion.


I created this one for a referral that I received from a friend.  Knowing his favorite spirit was Vodka, I created glasses and a gift tag to have a drink on me.

Just recently closed on a home with a small builder, and it made perfect sense to etch his company name on glasses with a bottle of his favorite scotch.
And last but certainly not least, it's always wine time right? Which makes these glasses perfect for any wine lover, especially for my good friend on her birthday.


We launch our new website, DiscoveryHomesColorado.com, next week Monday September 14th, where you will be able to buy these glasses, and create your own custom glasses for purchase as well.  Come check us out next week, we can't wait for you to see what else we've created.


0

It's Official Our First Egg

This is always a busy time of the year with the garden in full production and new chickens just starting to lay eggs, there is always something to keep up on.  We are so excited, got our first egg last night and another this morning.  Woo Hoo!

Apparently a little dance in front of the camera was in order.
So we better start talking about where these girls are laying. My husband made some great nesting boxes.
Here they are!  This was made from all left over wood from the construction of our chicken coop which definitely helps the bottom line.  Waste not want not.


First box underway.  We measured each box to be 1 foot by 1 foot square by 18 inches deep.  It's funny because we thought that might be too small only to find when we installed these in the coop, three or four chickens would sleep together in one.  Who knew.

We used left over screws from another project to secure the sides of the box together,
as well as the dividers between each box.
Last but not least we cut a small piece and attached it with a hinge and hook and eye to make sure that no eggs rolled out, and to keep the bedding in.
Box set number two was made exactly the same, and we attached them together using the 2x4 legs which also got them off the ground.

Installed inside the coop, they are ready to be used.  Well they were actually slept in for at least a month, but the day finally came for their intended purpose.

Loving our little flock!
0

Guess What Today Is? It's Closing Day

This is always the best day, closing day.  In the real estate market it is the culmination of a lot of hard work, but ultimately happiness on both sides.  Seller gets to move on to new and different adventures, and the buyer is happy to start a new chapter in a brand new home for them. The day wouldn't be complete until a little thank you gift is given.
What do you get for sellers who are moving states, and can't take something too big?  A little personalized welcome decoration for their new home, complete with custom coasters, custom kitchen hand towels, and a handmade monogrammed candle with lantern.
Went to my gifts board on Pinterest for my inspiration.  These coasters were easy to make, and even easier to customize.

Went to my silhouette to design the custom monogrammed stencil for the kitchen hand towels.
And last but not least is the hand painted monogrammed candle with the lantern.
  Congratulations to my sellers, who are now officially off on their new adventure.  Thank you for letting me be your real estate agent, couldn't have asked for better clients!
0

The Making of a Boy's Room, Part 1

It's official, my son now feels old enough to move to basement.  When did he get this old??  We are here for the design of the new basement bedroom not my tears because time is going so fast.  We have been working for some time on finishing the whole basement, and as we work slowly to get it done, the bedroom was obviously a part of the process.  Part 1 gets us the walls!  We went with a mountain theme, given he hiked a few 14ers this year, this seems perfect.

We added mountains to 2 of his walls, and the idea came from none other than Pinterest.
First we get to the choosing of the paint colors, which are Evergreen from Eddie Bauer Home, Native Henna from Valspar, and I matched my baseboard white for the mountain peaks.  Then we started to sketch the design.

The great thing about this design is you can create the mountains to perfectly fit your space.  As you can see we made the first layer pretty tall.  We had 10 foot ceilings to work with, so the higher we went the more dramatic his room became.  His tall ceilings allowed us to choose a dark color without making his room look too small.
Next layer the native henna, admittedly the taping process was not super fun, but it's turning out pretty cool.
Loving the extra help.  He's not excited to move to the basement?!?  Can you tell?
The two tall peaks, which will be right where his bed will go, are the last 14ers we want to hike this season, Grays and Torreys.
Added his name to the wall, and the start to the basement bedroom is well on it's way.  Wait till you see what finishing touches are on the way to complete this bedroom design.
2

Creative Kids Birthday Basket

My niece just turned six this month, and I wanted to make her something special.  She is an on the go, playful, and creative kid, so what better than a gift to be creative, color, paint, and more.

 I think the finished product turned out perfect, and will be ready for whatever creative whim comes her way.
I started off by making some of the basket necessities.  The first was sparkling playdough.  I went to trusty Pinterest to find my recipe.  I found the one I liked the best...
Sparkling Playdough Recipe
I cut the recipe down to a quarter of it's original size.  I only needed a little bit, and I wanted different colors


Next the glitter slime.  This stuff is so cool, Elmer's glitter glue, water and borax.  Couldn't be easier to make, and more fun to play with.
Glitter Slime Recipe

Finally the homemade finger paint.  I used neon food dye to give it an extra pop of color.
Homemade Finger Paint Recipe
I went to my silhouette to create the labels for the tops of my jars, and used mod podge to attach the label.
I also made these clip art scenes on my computer.  Took them to an office supply store close by (Staples), and had them blow up my
 8 1/2 x 11 sheet to poster size.  I wanted my niece to be able to hang this on her wall, and color till her hearts content, and then have artwork for her room when she's done.
Purchased some crayons, markers, and an extra pack of paper.  One last thing to make it complete...
Found an old shirt at my local thrift store, got some iron-on letters to spell her name.  Now she's got a personalized shirt to get paint on, and no one needs to care!!
Can't wait to see what she creates.
3