Well maybe just this chef's paradise. I can't begin to tell you how excited I am with our veggie garden this season. It's been so much fun deciding on dinner every evening based upon the fresh produce the garden is producing. Let me give you a look...
Showing posts with label chickens. Show all posts
best of the summer season,
chickens,
discover your home,
food gardening,
gardening,
growing veggies,
harvest
A Chef's Paradise
Friday, August 10, 2018
chickens,
chicks,
food gardening,
gardening,
growing veggies,
outdoor project,
planting,
recreate,
sustainable gardening,
wood signs
It's Garden Prep Week
Friday, April 28, 2017
So hind sight being what it is, I probably should have looked at the weather forecast before getting too excited to plan and create things for the veggie garden this week, but I did it anyway snow on the way or not. I got a little planting done with the plants that can handle some cold as well as added a cold frame on the cheap to protect them from freezing temps plus a new sign for the coop and I've got to show off our new chicks.
First Planting
Thursday, April 7, 2016
We have been working on the big dream garden for about 3 years now, and it's official we have our very first plantings! I can't tell you how excited I am, it's finally all coming together. Planted the garlic a week or so ago, and just this week we've added brussels sprouts, artichokes, broccoli, and cauliflower to the mix. These guys like the colder weather so it's a great time to plant them.
0
Finishing up the Fall
Thursday, December 3, 2015
Happy Holidays! We've decorated for Christmas, and we are in the spirit, but I did have a few final fall items to finish up. We got those 30+ pumpkins this year, and still needed to put them to good use.
0
It's time to save the seeds for next year's pumpkin crop. I wanted to save seeds from each of my different types of pumpkins, so I laid out a sheet of paper towel in front of each different type, and started cutting into them. I washed the seeds to remove all the pumpkin innards, and laid them out to dry on the paper towel. Once they dry you can store them in any container.
I use old baby food jars, and use a sharpie to label each container. Nice thing about using the sharpie right on the glass is that if I have to remove the writing for any reason, you can use a little goof off, and use it to store a different seed variety.
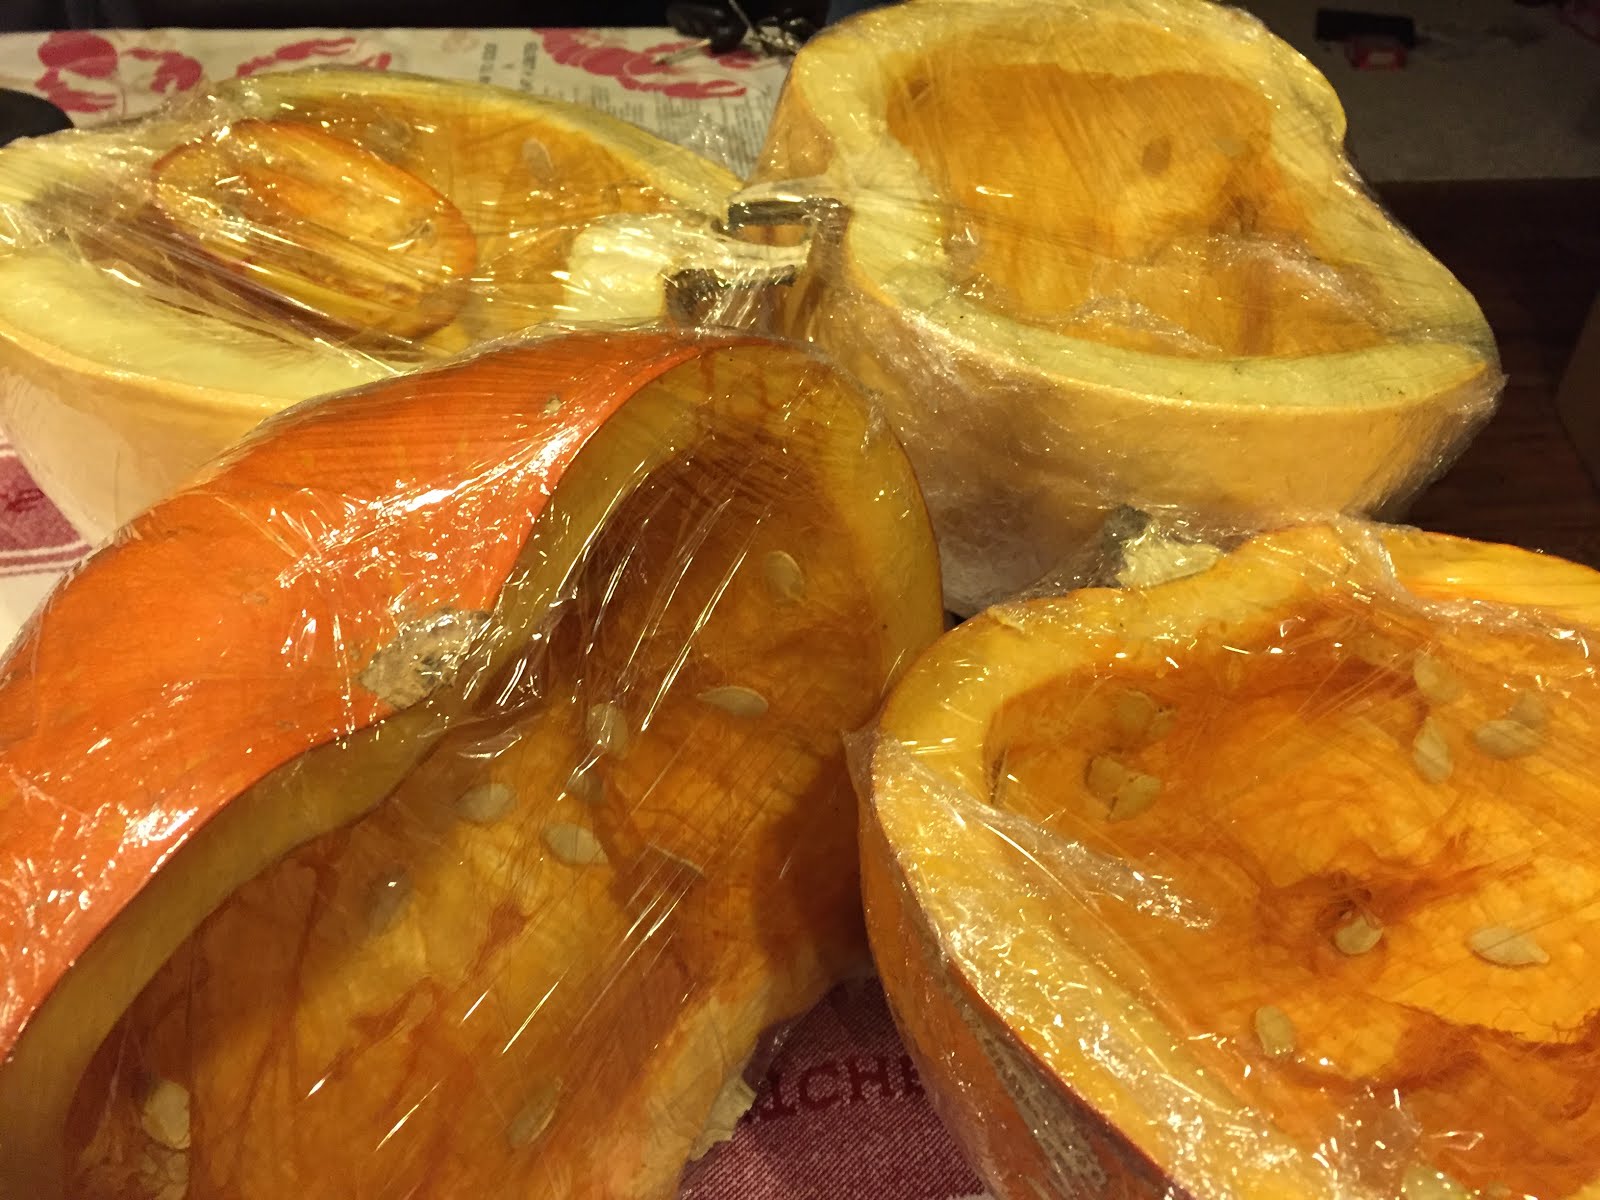
In years past, we have thrown our pumpkins out for the deer to eat. They got their fill this year as well, however new this year is our flock of chickens, and I thought we'd freeze and save some pumpkin halves for future eating in the winter.
They really seem to like them, picking them all the way down to the skin. Say hi Bertha!
Next it's time to take all the extra seeds your not saving and roast them!! Yum! Here's how I do it.
1-2 cups of pumpkins seeds
1-2 tsp of melted butter
Salt to taste
I lay out my seeds on a sheet pan to dry after I washed all the pumpkin innards off, and leave them out to dry for a day or two.
Preheat your oven to 300 degrees.
Once the seeds are dry, melt the butter, and pour it over the seeds, and mix it all up with your hands to get a good even coating. Then add salt, and pop these guys in the oven. Total roasting time is 45 minutes. I put my timer on for 15 minutes, and stir the seeds around, and set the timer again for another 15 minutes till 45 minutes is up.
Take them out of the oven, and let cool. Store them in a sealed container, and enjoy for a snack or in a salad to add some crunch.
Well it's time to say goodbye to fall, and all of it's bounty. Bring on Christmas! 🎄
#Epic39
Monday, October 12, 2015
Well it's official, now you all know how old I am! As the last year in my thirties, I wanted to make it an epic year. But starting off about 8 weeks ago (birthday date), I didn't know what that would look like. You can come up with all the usual things like exotic travel, skydiving, and learning to fly a plane which I want to do, but it's starting to become more than that. I'm starting to recognize just the small little things that are making my life epic. We launched the Discovery Homes website, plus our Etsy store is up and running, so that's where I've been for a month.
The one thing that has been epic at the house is the garden! You all know what a tough start we had with the weather and warmth, but it has really turned around. We've got some new comers to our garden scene as well as some old favorites, but let me show you how they are all doing.
The very first garlic crop ever. Totally can't complain. I put in 17 cloves, and got between 13-15 garlic bulbs.
First season of the artichoke as well. I didn't get too many from my 12 plants, however pretty impressed for season one.
The cantaloupe was sweeter and more juicy than anything in the store.
Another new crop to our garden this year was cauliflower. Planted 5 plants, already roasted and ate 2 heads. Yum!
The cucumber crop has been incredible. This is pickle batch number 3, and still have more on the vines.
It's definitely cool season crop time, and the broccoli is growing like crazy. Pick it, roast it, and eat it for the perfect addition to dinner.
These ladies are the center of our garden this year, and are making a plethora of eggs. We are getting an average of 6-8 eggs per day. Perfect addition to our little homestead.
A bumper crop of pumpkins have been harvested this year. We planted them in the front flower bed due to lack of room, and they thrived here. We have at least 30 pumpkins of varying varieties.
Using them for little fall decoration outside..
and inside.
Usually when fall is over we throw these guys out for the deer, however this year I will cut up and save many of them for the chickens to eat during the winter.
Looking forward to sharing with you all the things I find to make my 39th year epic. No matter what your epic looks like, make your life the best it can be.
0
The one thing that has been epic at the house is the garden! You all know what a tough start we had with the weather and warmth, but it has really turned around. We've got some new comers to our garden scene as well as some old favorites, but let me show you how they are all doing.
The very first garlic crop ever. Totally can't complain. I put in 17 cloves, and got between 13-15 garlic bulbs.
First season of the artichoke as well. I didn't get too many from my 12 plants, however pretty impressed for season one.
The cantaloupe was sweeter and more juicy than anything in the store.
Another new crop to our garden this year was cauliflower. Planted 5 plants, already roasted and ate 2 heads. Yum!
The cucumber crop has been incredible. This is pickle batch number 3, and still have more on the vines.
It's definitely cool season crop time, and the broccoli is growing like crazy. Pick it, roast it, and eat it for the perfect addition to dinner.
These ladies are the center of our garden this year, and are making a plethora of eggs. We are getting an average of 6-8 eggs per day. Perfect addition to our little homestead.
A bumper crop of pumpkins have been harvested this year. We planted them in the front flower bed due to lack of room, and they thrived here. We have at least 30 pumpkins of varying varieties.
Using them for little fall decoration outside..
and inside.
Usually when fall is over we throw these guys out for the deer, however this year I will cut up and save many of them for the chickens to eat during the winter.
Looking forward to sharing with you all the things I find to make my 39th year epic. No matter what your epic looks like, make your life the best it can be.
It's Official Our First Egg
Tuesday, August 25, 2015
This is always a busy time of the year with the garden in full production and new chickens just starting to lay eggs, there is always something to keep up on. We are so excited, got our first egg last night and another this morning. Woo Hoo!
Apparently a little dance in front of the camera was in order.
So we better start talking about where these girls are laying. My husband made some great nesting boxes.
Here they are! This was made from all left over wood from the construction of our chicken coop which definitely helps the bottom line. Waste not want not.
First box underway. We measured each box to be 1 foot by 1 foot square by 18 inches deep. It's funny because we thought that might be too small only to find when we installed these in the coop, three or four chickens would sleep together in one. Who knew.
We used left over screws from another project to secure the sides of the box together,
as well as the dividers between each box.
Last but not least we cut a small piece and attached it with a hinge and hook and eye to make sure that no eggs rolled out, and to keep the bedding in.
Box set number two was made exactly the same, and we attached them together using the 2x4 legs which also got them off the ground.

Installed inside the coop, they are ready to be used. Well they were actually slept in for at least a month, but the day finally came for their intended purpose.
Loving our little flock!
0
Apparently a little dance in front of the camera was in order.
So we better start talking about where these girls are laying. My husband made some great nesting boxes.
Here they are! This was made from all left over wood from the construction of our chicken coop which definitely helps the bottom line. Waste not want not.
First box underway. We measured each box to be 1 foot by 1 foot square by 18 inches deep. It's funny because we thought that might be too small only to find when we installed these in the coop, three or four chickens would sleep together in one. Who knew.
We used left over screws from another project to secure the sides of the box together,
as well as the dividers between each box.
Last but not least we cut a small piece and attached it with a hinge and hook and eye to make sure that no eggs rolled out, and to keep the bedding in.
Box set number two was made exactly the same, and we attached them together using the 2x4 legs which also got them off the ground.
Installed inside the coop, they are ready to be used. Well they were actually slept in for at least a month, but the day finally came for their intended purpose.
Loving our little flock!
Nice chicken coop if I do say so myself
Tuesday, June 30, 2015
We finished it. The chicken coop is now totally finished. The girls have been out there for awhile, however the final step was the roof, and it finally got put on within the last two weeks. The spring was a cold one here, and it took us much longer than we thought to get this thing going.
But here she is. I think it turned out pretty good, and the chickens seem to be happy, which is really what matters right?
Here are the drawings my hubby created so we could get a materials list, etc. We made a 10'x12' shed. The chickens get half, and the other half we made into a tool shed for gardening supplies and chicken food storage.
We actually started building the walls inside our barn so we could keep working with all the rain.
Time to make the floor...
We used 2x4's for the floor structure, and then covered them with sheeting. They are attached to 4 4x4's concreted into the ground.
It's building day. These were the first two fabricated walls we put up. We framed the other two walls, but didn't side them because of the windows. Needed to install those first.
Truss day. See the weather in the background? Yikes!
At least with the tar paper on the roof, the chickens could move in. Nice and dry.
Next up, the chicken run.
Perfect hangout outside, and we made them a little shade structure out of an old pallet.
Don't mind all the clover, the big veggie garden is coming along, but slower than I hoped, however the chickens really seem to like clover. Eat away my friends, eat away!
Growing like weeds. Looking forward to the eggs!
2
We actually started building the walls inside our barn so we could keep working with all the rain.
Time to make the floor...
We used 2x4's for the floor structure, and then covered them with sheeting. They are attached to 4 4x4's concreted into the ground.
It's building day. These were the first two fabricated walls we put up. We framed the other two walls, but didn't side them because of the windows. Needed to install those first.
Truss day. See the weather in the background? Yikes!
At least with the tar paper on the roof, the chickens could move in. Nice and dry.
Next up, the chicken run.
Perfect hangout outside, and we made them a little shade structure out of an old pallet.
Don't mind all the clover, the big veggie garden is coming along, but slower than I hoped, however the chickens really seem to like clover. Eat away my friends, eat away!
Growing like weeds. Looking forward to the eggs!
The Chickens are here
Tuesday, April 7, 2015
Don't even need any words, just a cute picture.
Originally we were going to start our brood with eight chickens, but a nagging feeling and some advise from other chicken owners prompted me to get a few more. My husband has a friend who loses several chickens every year to predators no matter what they seem to do, so I thought that adding a few more chicks was a way to insure some loss to predation while having my first flock be a success.
I ended up adding three Buff Orpington variety of chicks which are docile and handle the cold well. I also got one more Easter Egger for a total of six chicks this time around.
I pick up the rest of my brood on Friday, which will be
Black Wyandotte
Silver laced Cochin
I'm picking up an extra one of each for a total of twelve chickens for my first flock.
My husband built me a perfect brooder for the chicks, and will accommodate far more chicks than I've ordered, but hopefully this will give me an opportunity to grow and expand my flock in the future.
We had some old pieces of scrape plywood lying around, which made for the perfect box for the chicks with plenty of room to run around.
Seems the kids are super happy with the start of our flock! Super good chicken sitters they are.
0
Originally we were going to start our brood with eight chickens, but a nagging feeling and some advise from other chicken owners prompted me to get a few more. My husband has a friend who loses several chickens every year to predators no matter what they seem to do, so I thought that adding a few more chicks was a way to insure some loss to predation while having my first flock be a success.
I pick up the rest of my brood on Friday, which will be
I'm picking up an extra one of each for a total of twelve chickens for my first flock.
My husband built me a perfect brooder for the chicks, and will accommodate far more chicks than I've ordered, but hopefully this will give me an opportunity to grow and expand my flock in the future.
We had some old pieces of scrape plywood lying around, which made for the perfect box for the chicks with plenty of room to run around.
Seems the kids are super happy with the start of our flock! Super good chicken sitters they are.
Subscribe to:
Posts (Atom)